Latest updates
Joplin User Guide
Learn how to install, create, organize, and sync notes in Joplin.
Joplin User Guide
Introduction
Joplin is an open-source note-taking and personal knowledge management application. This guide covers the most important workflows for using Joplin on desktop and mobile, including installation on Windows, adding a new note, saving the notes on the cloud, syncing, installation on mobile (Android), and viewing the online notes.
Install Joplin
- Visit https://joplinapp.org and download the latest version for Windows.
Note: Alternatively, install from the command line for desktop builds or use the portable app when available. For open source development, the repository is available at https://github.com/joplinapp/joplin.
Windows installation
- When installing on Windows, you will be prompted to choose whether the app is available for all users or only your account, as shown below.
- Users can select Anyone who uses the computer (All Users) or only for me (Admin name).
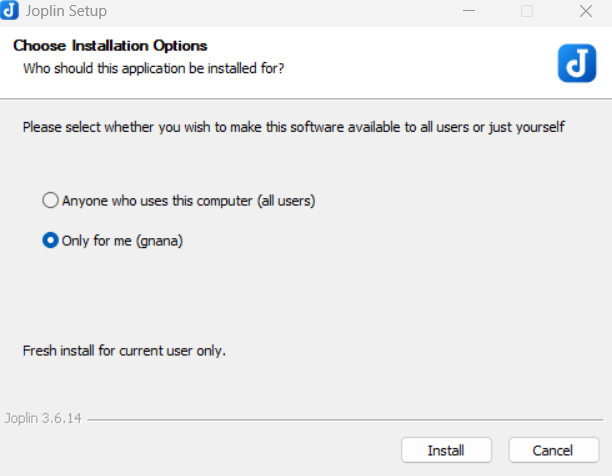
- After choosing the install Users, click the Install button.
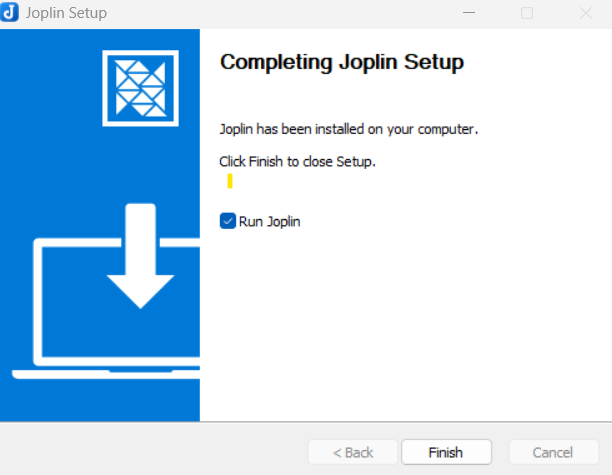
- When installation completes, click the Finish button.
Tip: Users can also enable the Run Joplin option to launch the app after clicking on the Finish button.
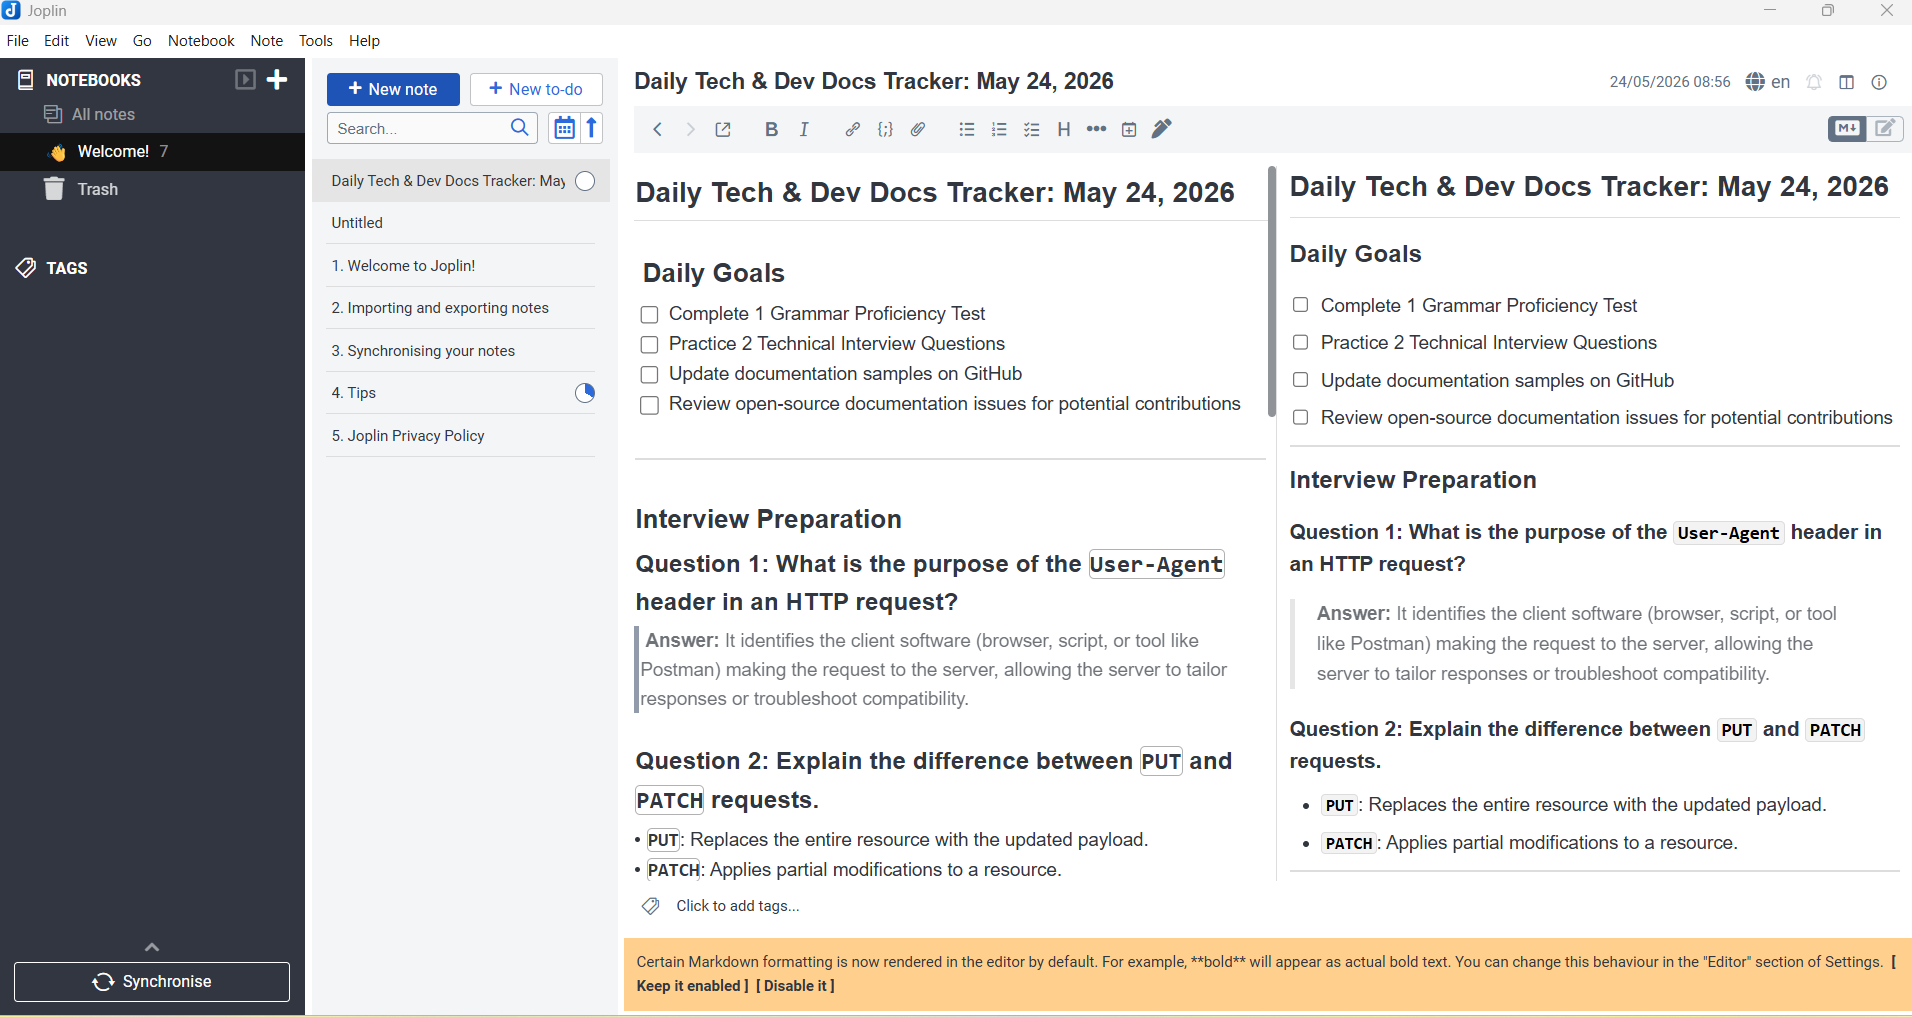
Welcome screen (Dashboard)
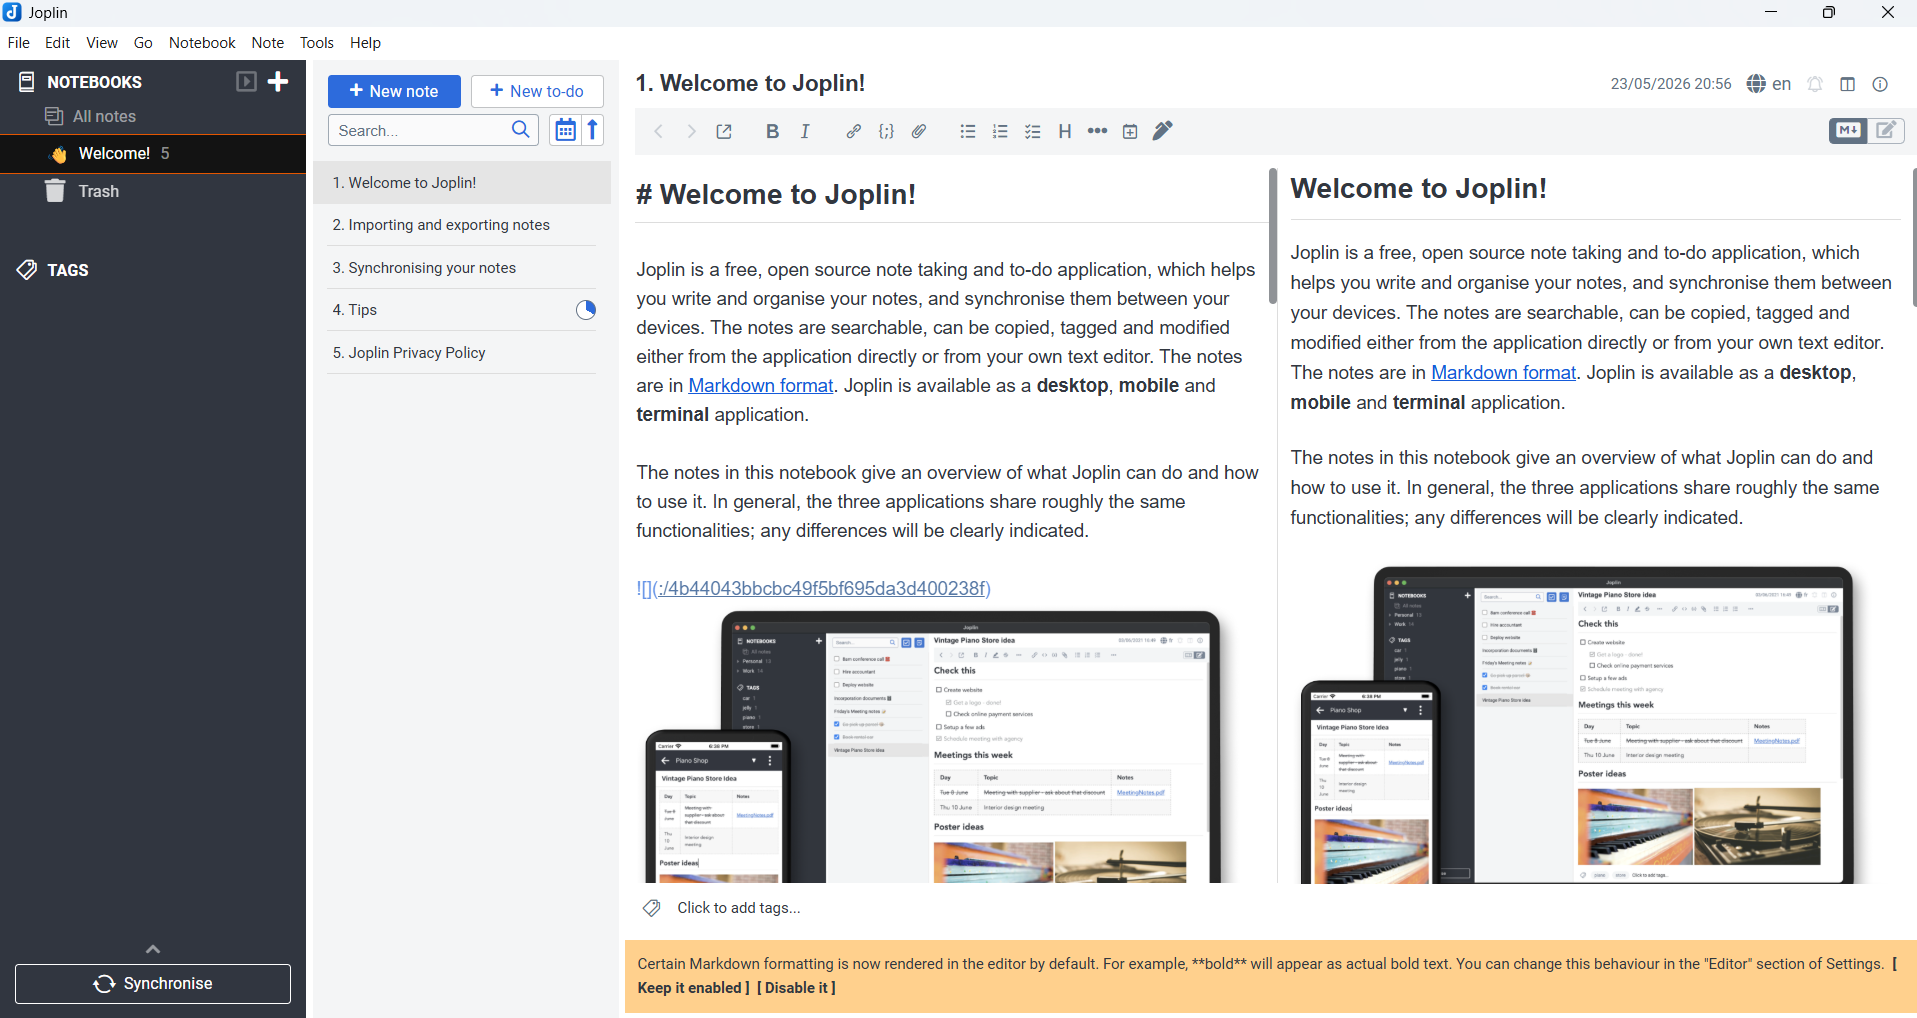
- When Joplin opens for the first time, you will see a welcome screen with some example notes. Users can refer to the information to learn more about Joplin.
Create your first note
- Open Joplin.
-
In the left sidebar, click the New note icon.
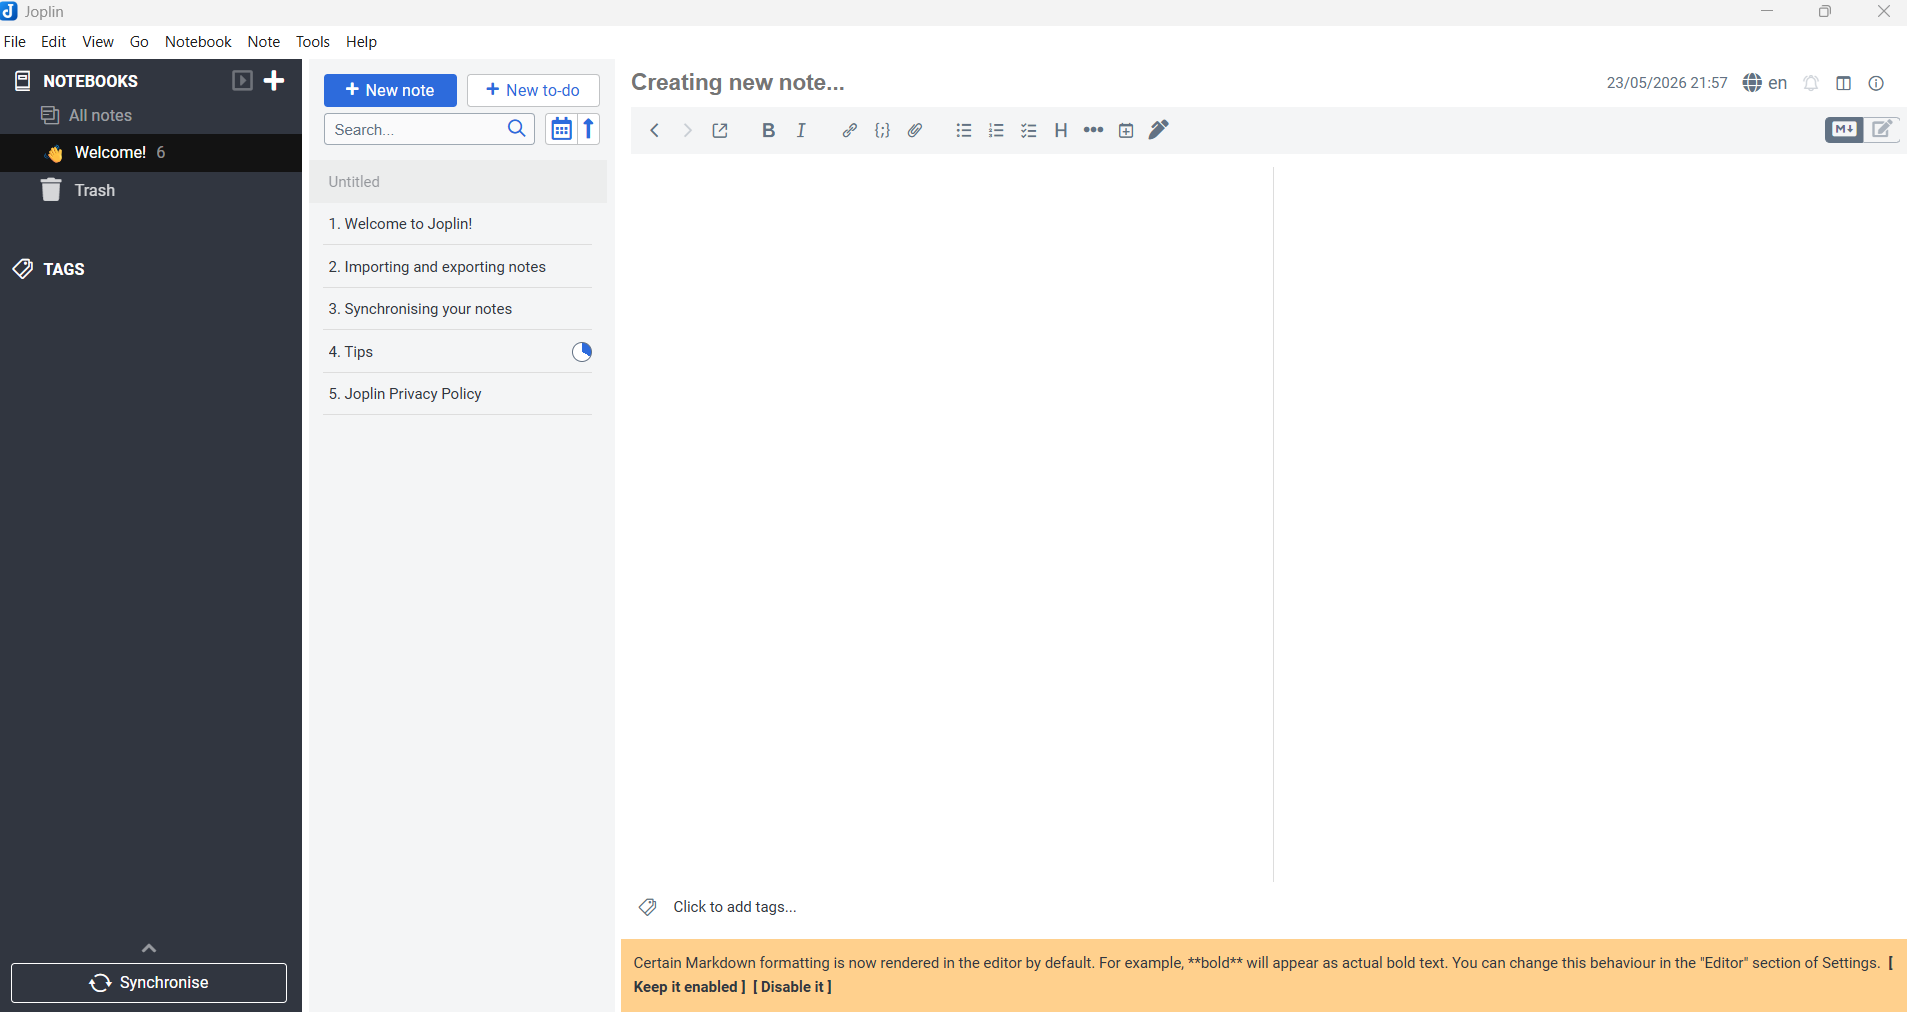
- Enter the notes. The preview of the notes will be displayed on the right side.
Tip: Use notebooks to separate major contexts like projects, study, and personal notes.
Editing with Markdown
Markdown basics
Joplin uses Markdown for formatting notes. Common syntax includes:
# Heading 1for headings**bold**and*italic*for text styles-or*for lists`inline code`for code snippets> blockquotefor quoted text
Adding checklists
- Create a checklist item using
- [ ] Task name. - Mark it complete with
- [x] Task name. - Checklists are great for task lists, meeting agendas, or action items.
Code blocks and attachments
-
Use triple backticks for code blocks:
```python
print("Hello, Joplin")
```
- Add attachments with Insert > Attach file or drag files directly into a note.
- Attachments can include images, PDFs, and documents.
Save & Sync
- Use Ctrl+S to save the current note.
The following screen shows the sync options available in Joplin:
- Joplin Cloud: the native, fully integrated sync service optimized for notes and Joplin-specific features. Click (here) to learn more about Joplin Cloud.
- Dropbox: a general cloud storage provider that syncs your Joplin note files across devices.
- OneDrive: Microsoft’s cloud storage service, also used to sync Joplin note files between devices.
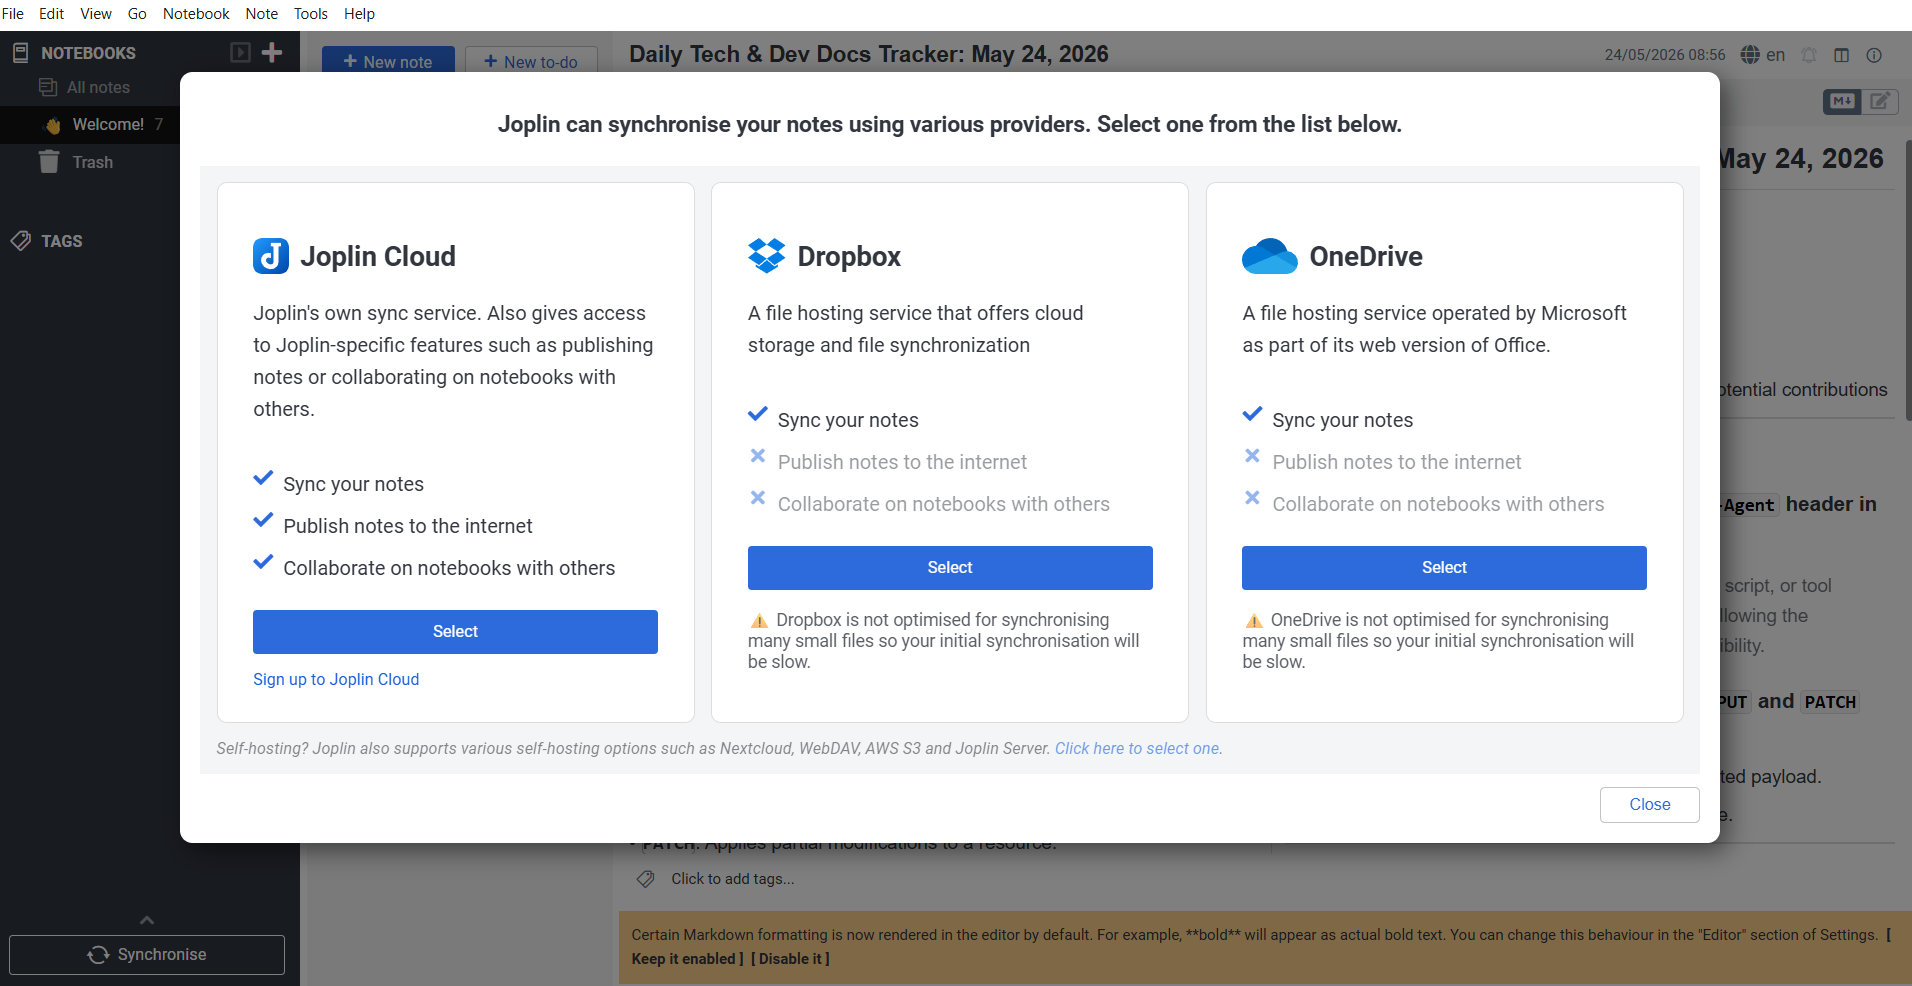
- Select the preferred cloud storage option
Note: the same cloud storage method has to be selected on other devices to sync with Windows.
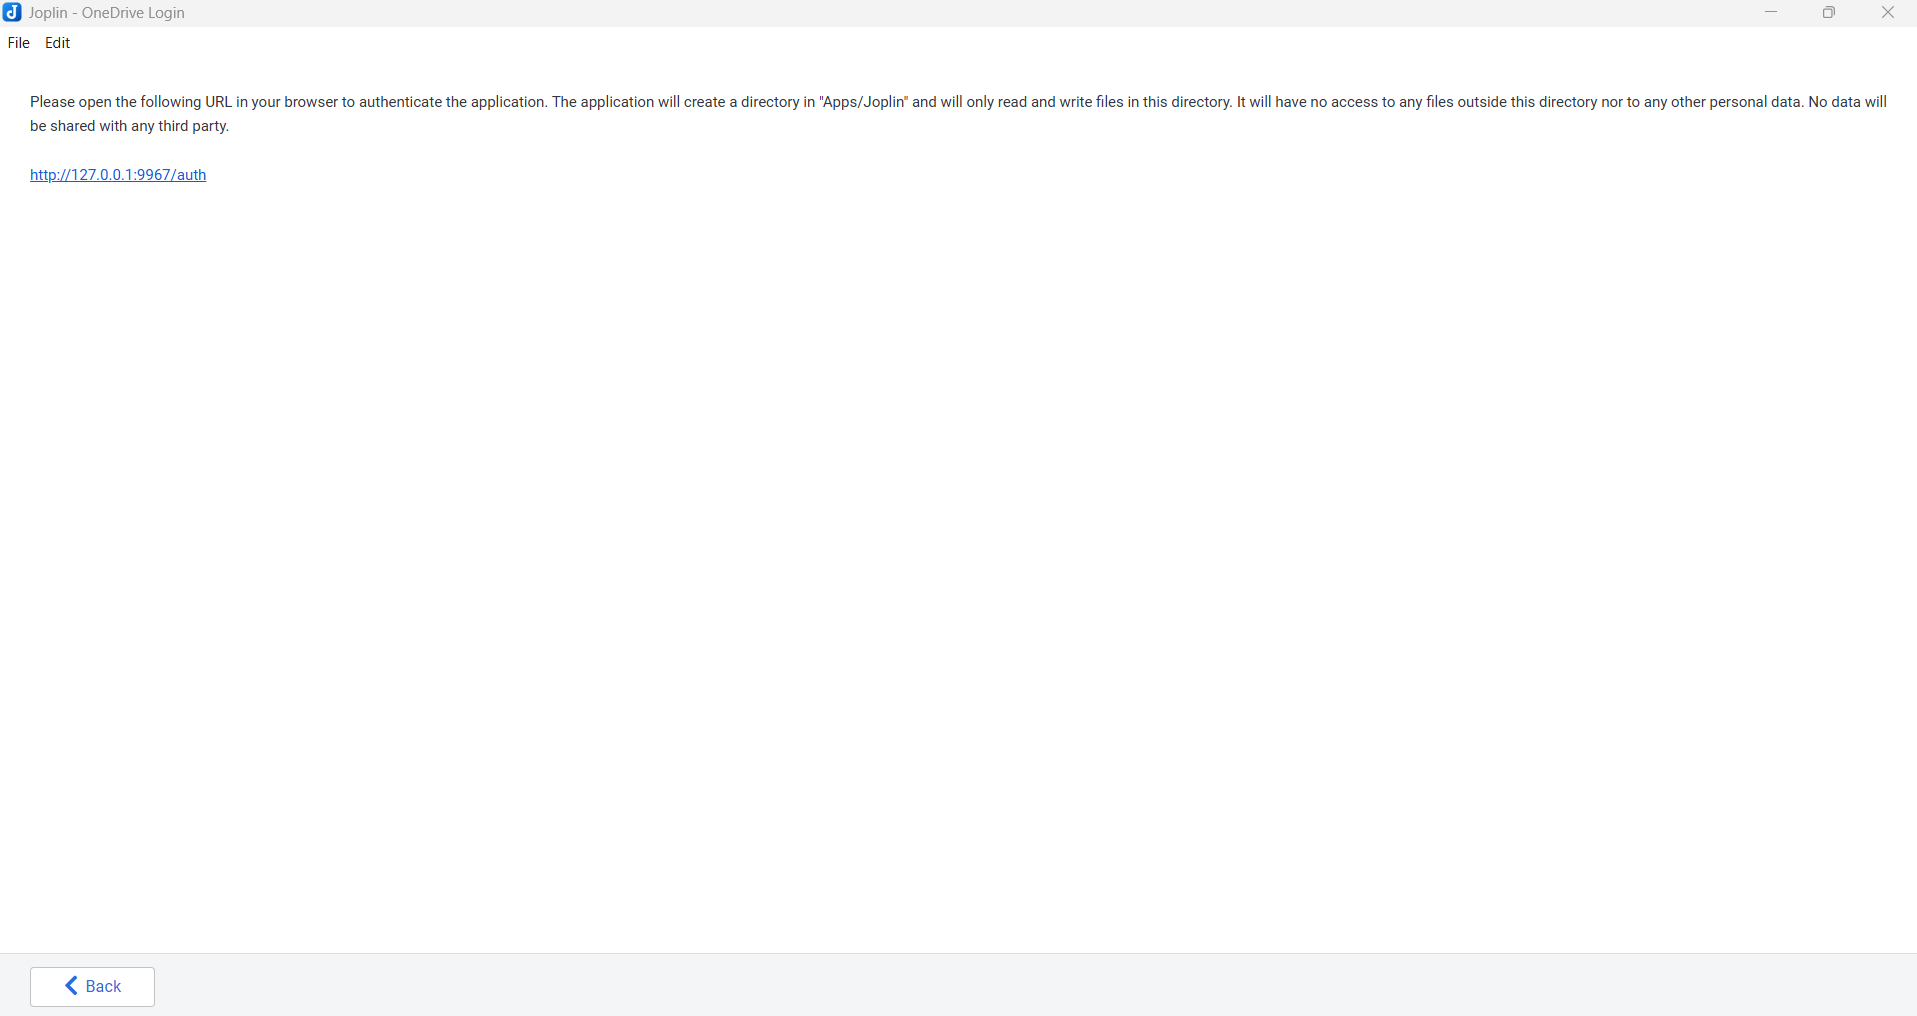
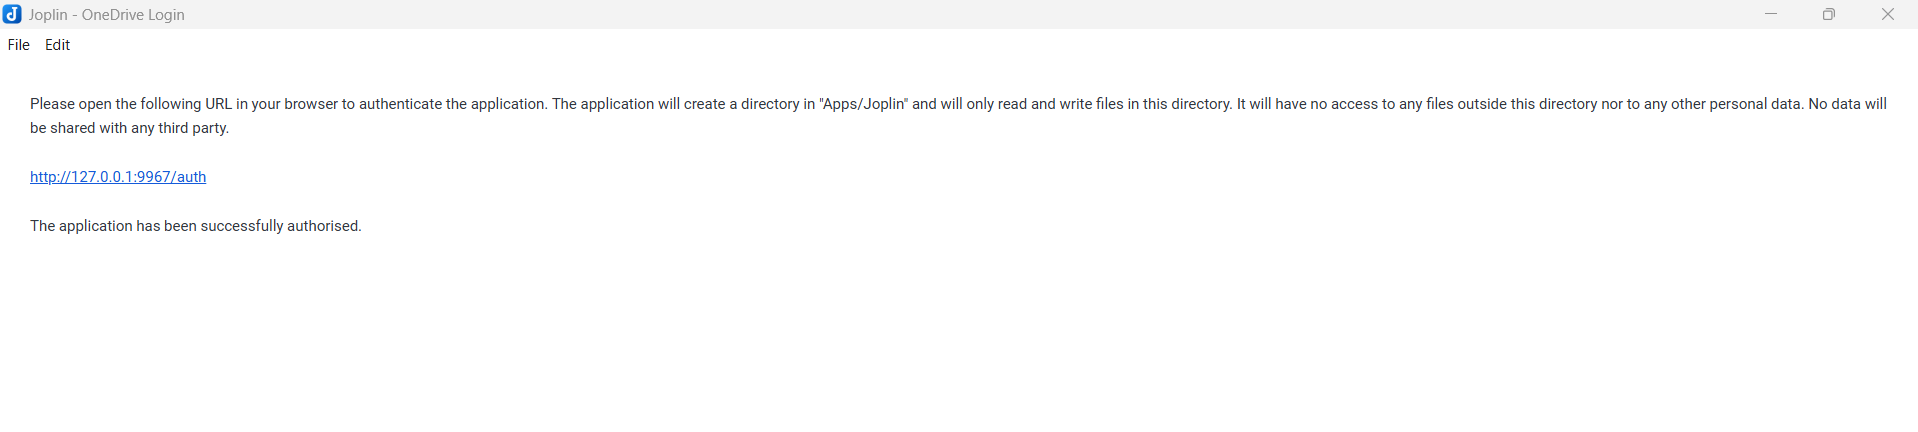
Syncing via OneDrive
- Choose OneDrive as your sync target in Joplin.
- Sign in with your Microsoft account when prompted.
- Allow Joplin to connect to OneDrive and grant the required access.
- Wait for the confirmation that syncing is complete.
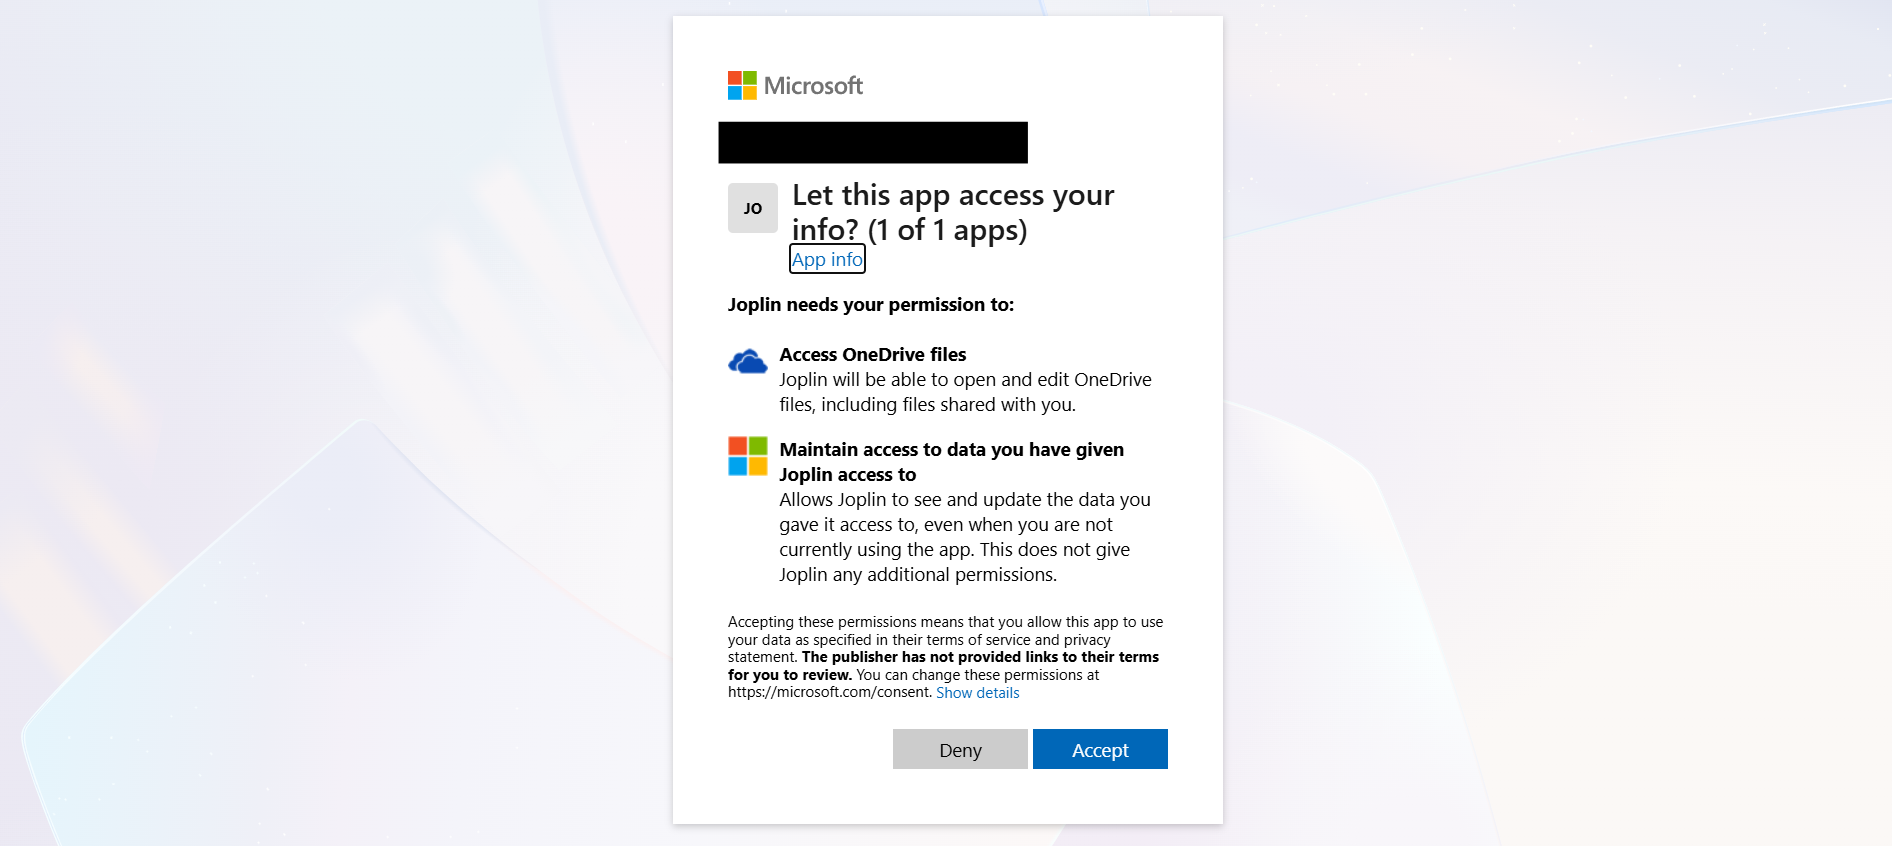

- The following success text will be displayed.
Syncing Notes
Configure sync
- Open Tools > Options > Synchronization.
- Choose your sync target: Dropbox, OneDrive, Nextcloud, WebDAV, or File system.
- Enter your account or server details.
- Click Synchronize to start.
Sync workflow
- Sync regularly to keep desktop and mobile notes aligned.
- Joplin stores note revisions, so accidental changes can be recovered.
- If you use multiple devices, sync after finishing work on one device before switching.
Mobile Usage
Install and sync mobile
- Install Joplin Mobile from Google Play or the Apple App Store.
- Open the app and choose Configuration > Synchronization target.
- Use the same sync target as the desktop for seamless note access.
Mobile features
- Capture quick notes with the mobile editor.
- Use the camera to attach images directly to notes.
- Swipe gestures help move notes, archive, or delete quickly.
Tips for Productivity
- Use a consistent notebook and tag structure.
- Create templates for recurring note types such as meeting notes, daily journals, or project plans.
- Pin important notes to keep them easy to access.
- Use the map view or note links for personal knowledge management.
Frequently Asked Questions
Q: Can I use Joplin offline?
A: Yes. Joplin works offline and syncs changes when a network connection is available.
Q: How do I backup my notes?
A: Export your notes to JEX or Markdown, or sync to a reliable cloud service.
Q: Is Joplin truly open source?
A: Yes. Joplin is licensed under GPLv3 and its source code is available on GitHub.
Q: Can I encrypt my notes?
A: Yes. Enable Encryption Options under Tools > Options > Encryption to secure notes and attachments.