Latest updates
Joplin User Guide
Learn how to install, create, organize, and sync notes in Joplin.
Joplin User Guide
Introduction
Joplin is an open-source note-taking and personal knowledge management application. This guide covers the most important desktop and mobile workflows, including installation on Windows and Android, creating notes, saving notes to the cloud, syncing, and viewing notes online.
Install Joplin
- Visit https://joplinapp.org and download the latest version for Windows.
Note: Alternatively, install from the command line for desktop builds or use the portable app when available. For open source development, the repository is available at https://github.com/joplinapp/joplin.
Windows installation
- When installing on Windows, you will be prompted to choose whether the app is available for all users or only your account, as shown below.
- Users can select Anyone who uses the computer (All Users) or only for me (Admin name).
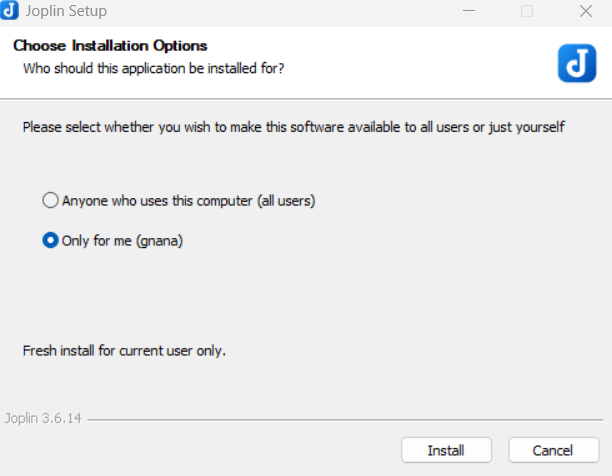
- After choosing the installation option, click the Install button.
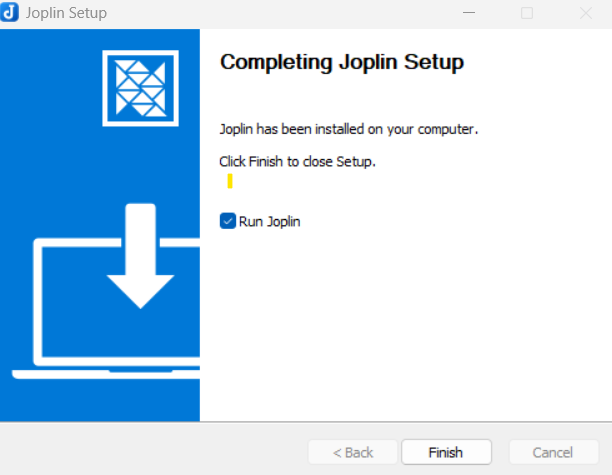
- When installation completes, click the Finish button.
Tip: Users can also enable the Run Joplin option to launch the app after clicking on the Finish button.
Welcome screen (Dashboard)
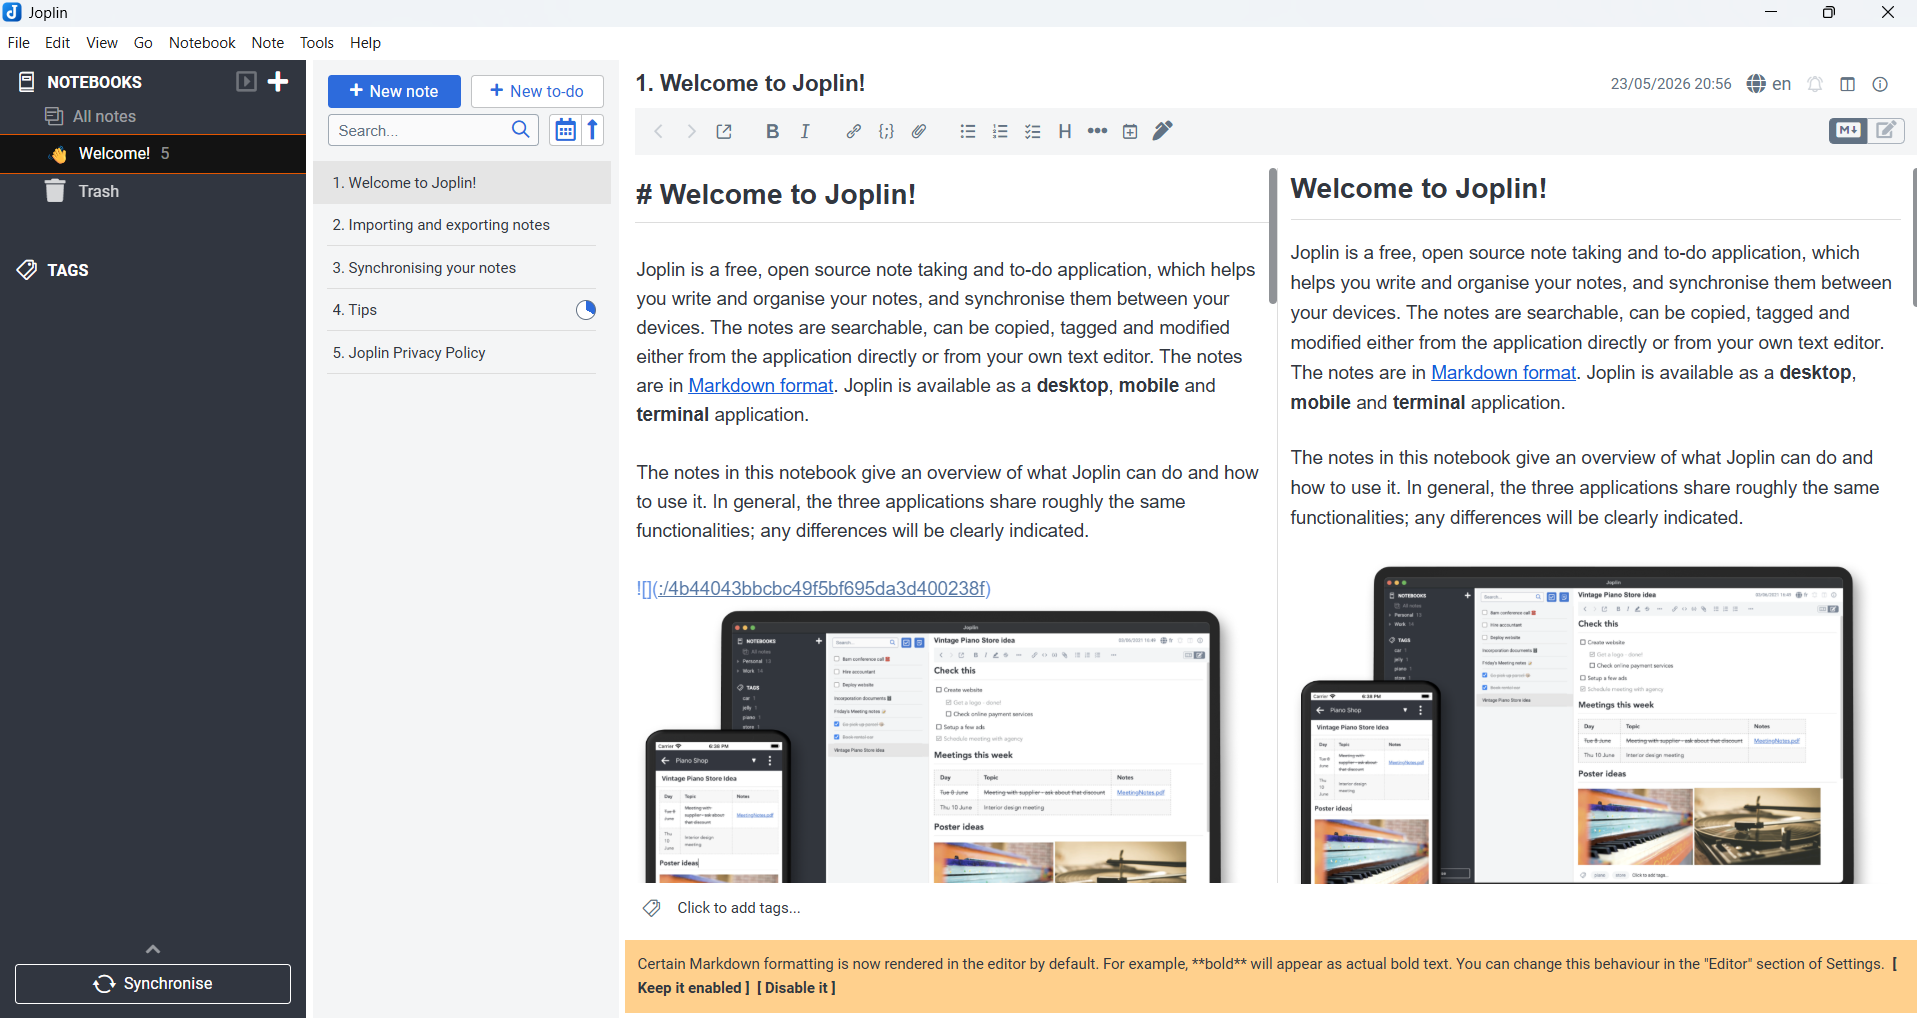
- When Joplin opens for the first time, you will see a welcome screen with some example notes. Users can refer to the information to learn more about Joplin.
Create your first note
- Open Joplin.
-
In the left sidebar, click the New note icon.
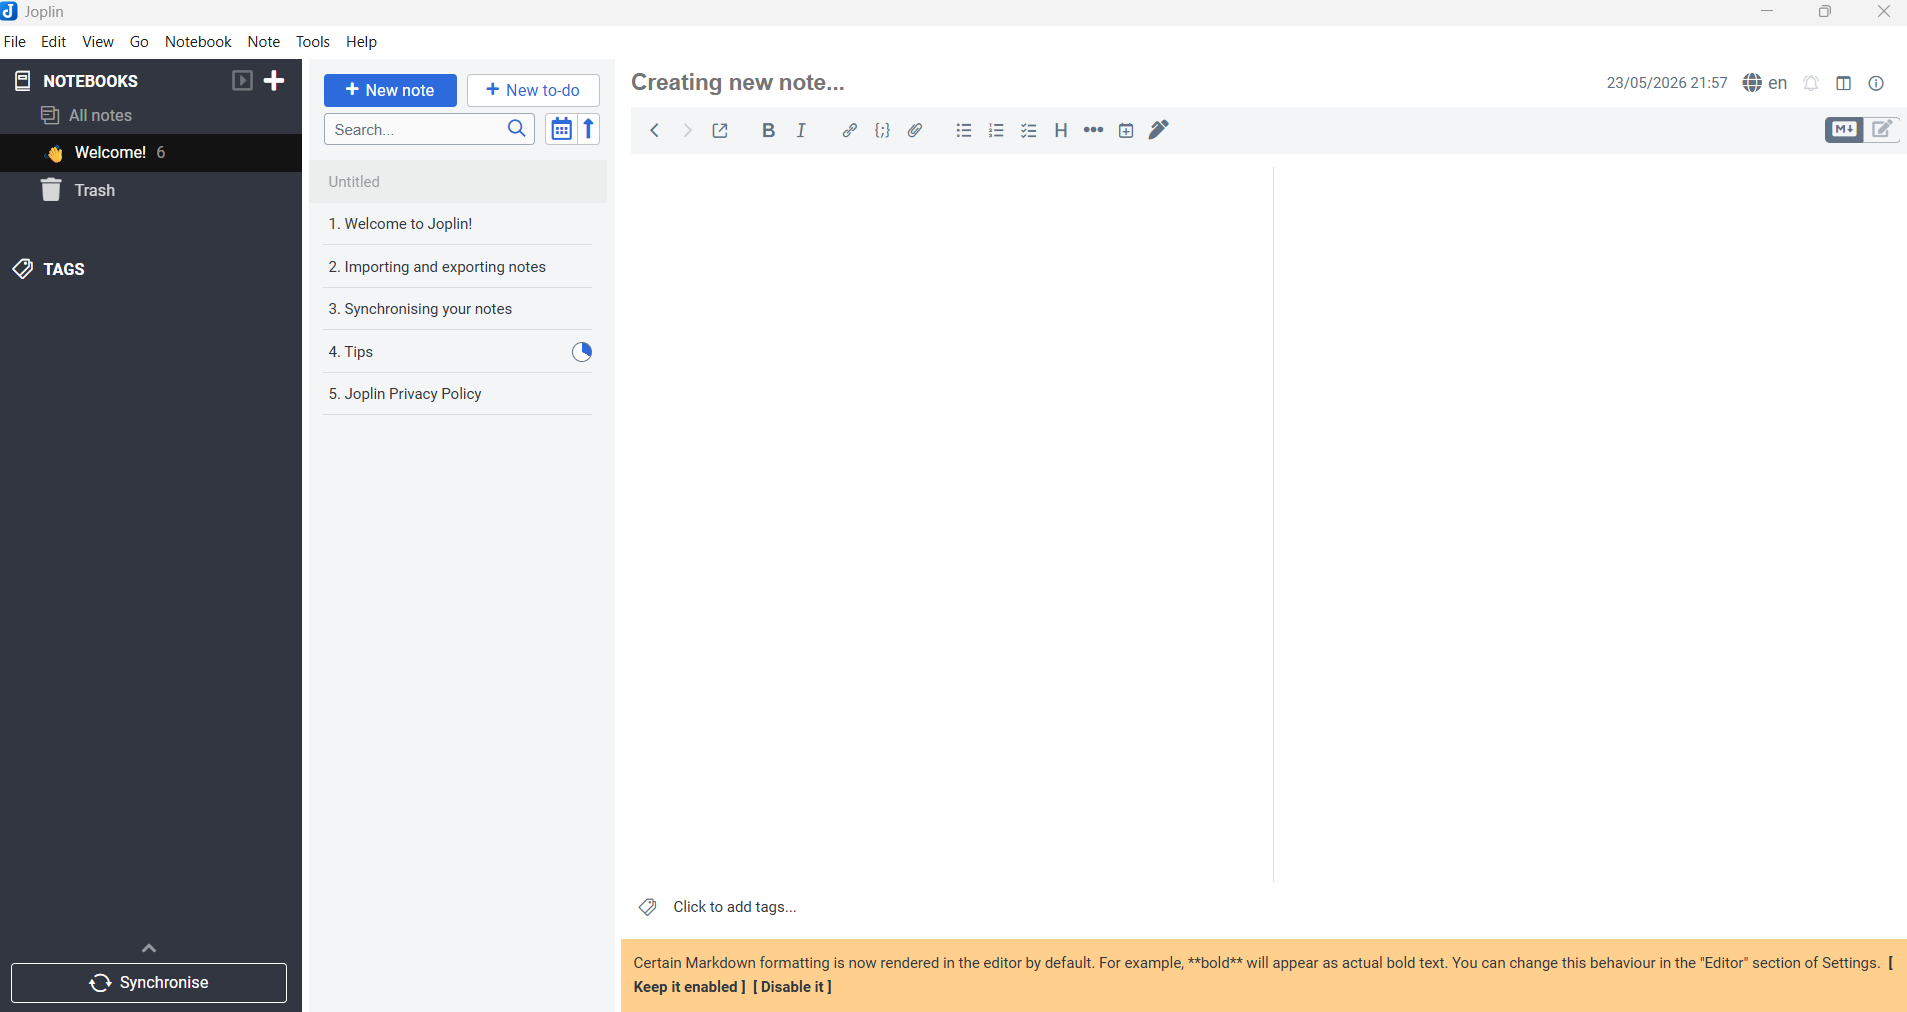
- Enter your note. Its preview appears on the right side.
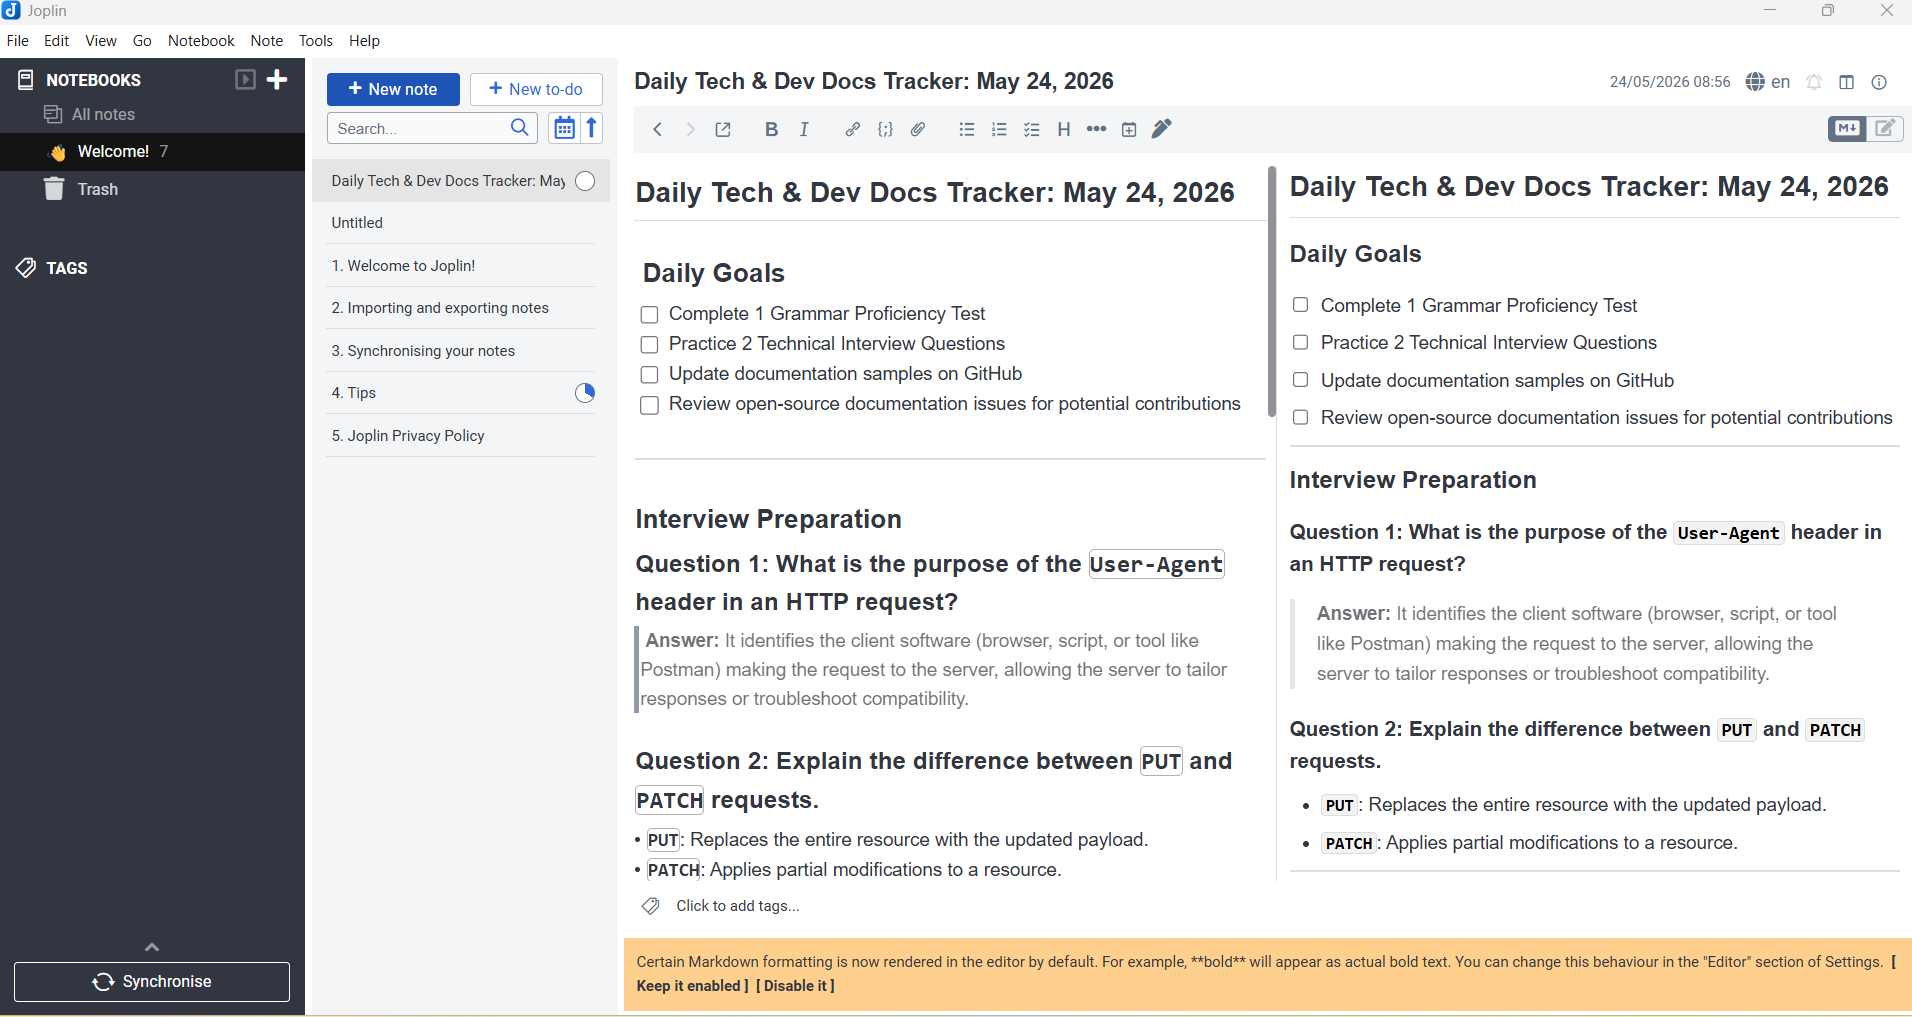
Tip: Use notebooks to separate major contexts like projects, study, and personal notes.
Editing with Markdown
Markdown basics
Joplin uses Markdown for formatting notes. Common syntax includes:
# Heading 1for headings**bold**and*italic*for text styles-or*for lists`inline code`for code snippets> blockquotefor quoted text
Adding checklists
- Create a checklist item using
- [ ] Task name. - Mark it complete with
- [x] Task name. - Checklists are great for task lists, meeting agendas, or action items.
Code blocks and attachments
-
Use triple backticks for code blocks:
print("Hello, Joplin") - Add attachments with Insert > Attach file or drag files directly into a note.
- Attachments can include images, PDFs, and documents.
Save & Sync
- Use Ctrl+S to save the current note.
The following screen shows the sync options available in Joplin:
- Joplin Cloud: The native, fully integrated sync service optimized for notes and Joplin-specific features. Click Joplin to learn more about Joplin Cloud.
- Dropbox: a general cloud storage provider that syncs your Joplin note files across devices.
- OneDrive: Microsoft’s cloud storage service, also used to sync Joplin note files between devices.
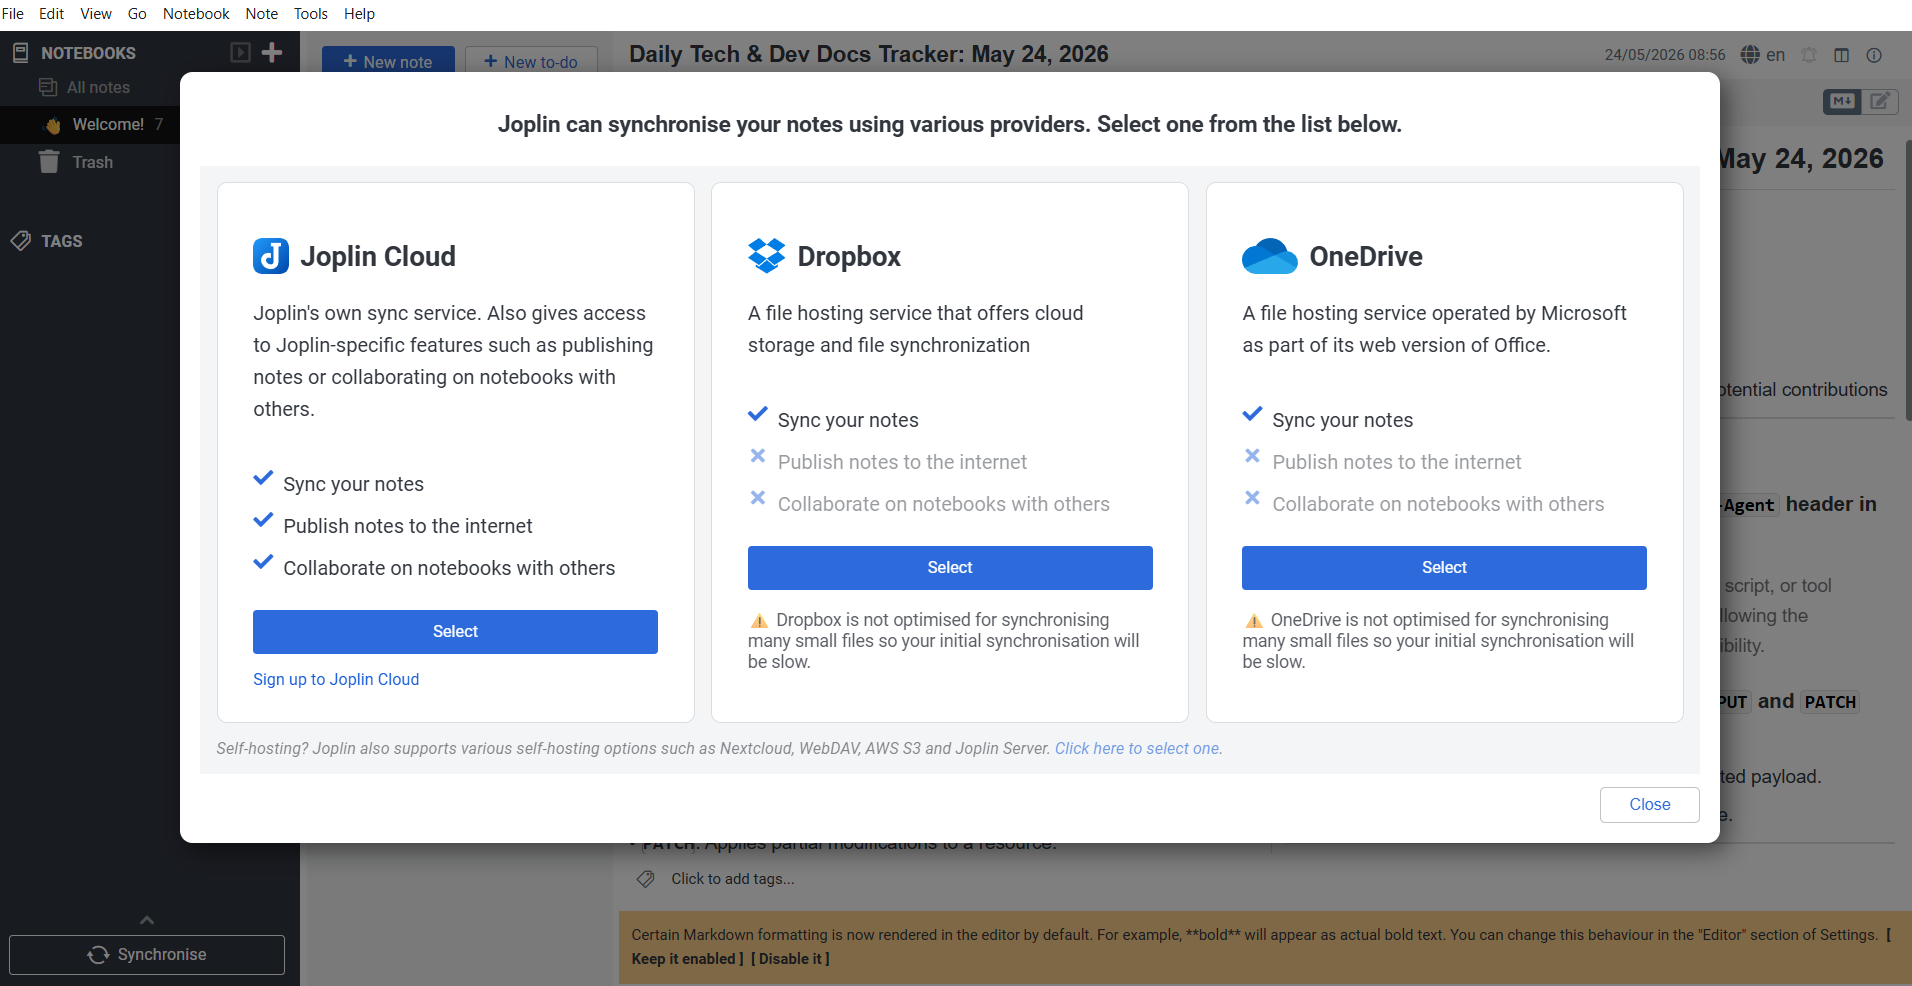
- Select your preferred cloud storage option.
Note: Select the same cloud storage method on your other devices to sync with Windows.
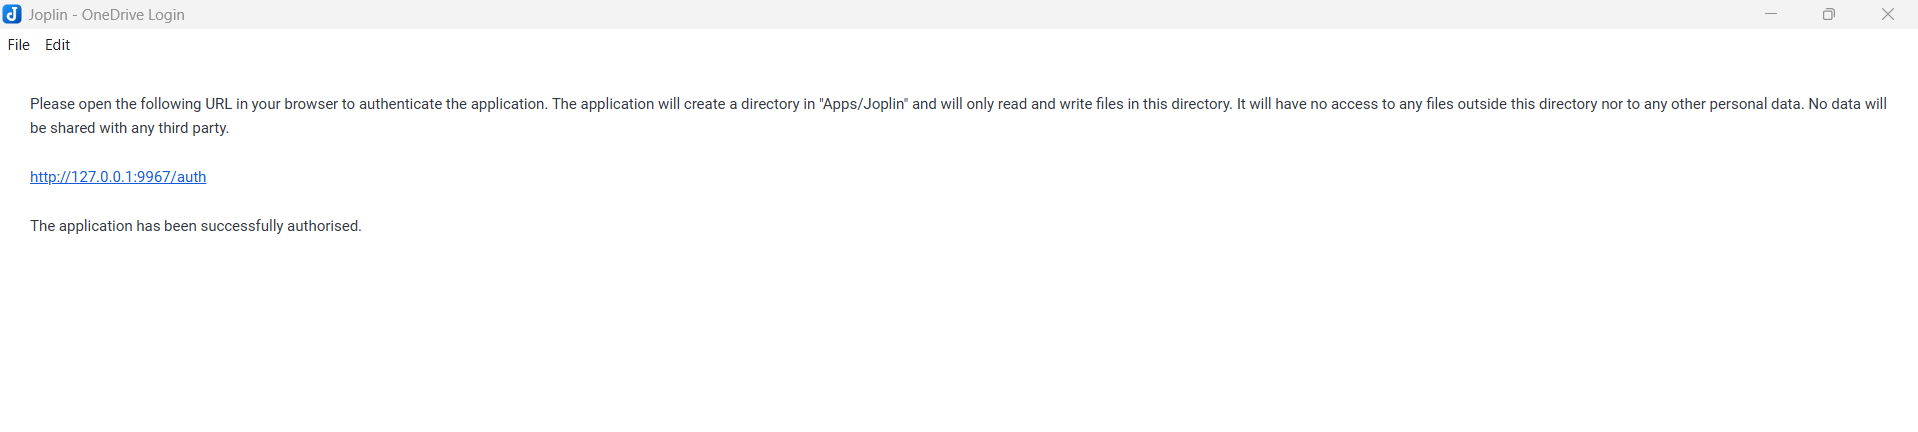
Syncing via OneDrive
- Choose OneDrive as your sync target in Joplin.
- Sign in with your Microsoft account when prompted.
- Allow Joplin to connect to OneDrive and grant the required access.
- Wait for the confirmation that syncing is complete.
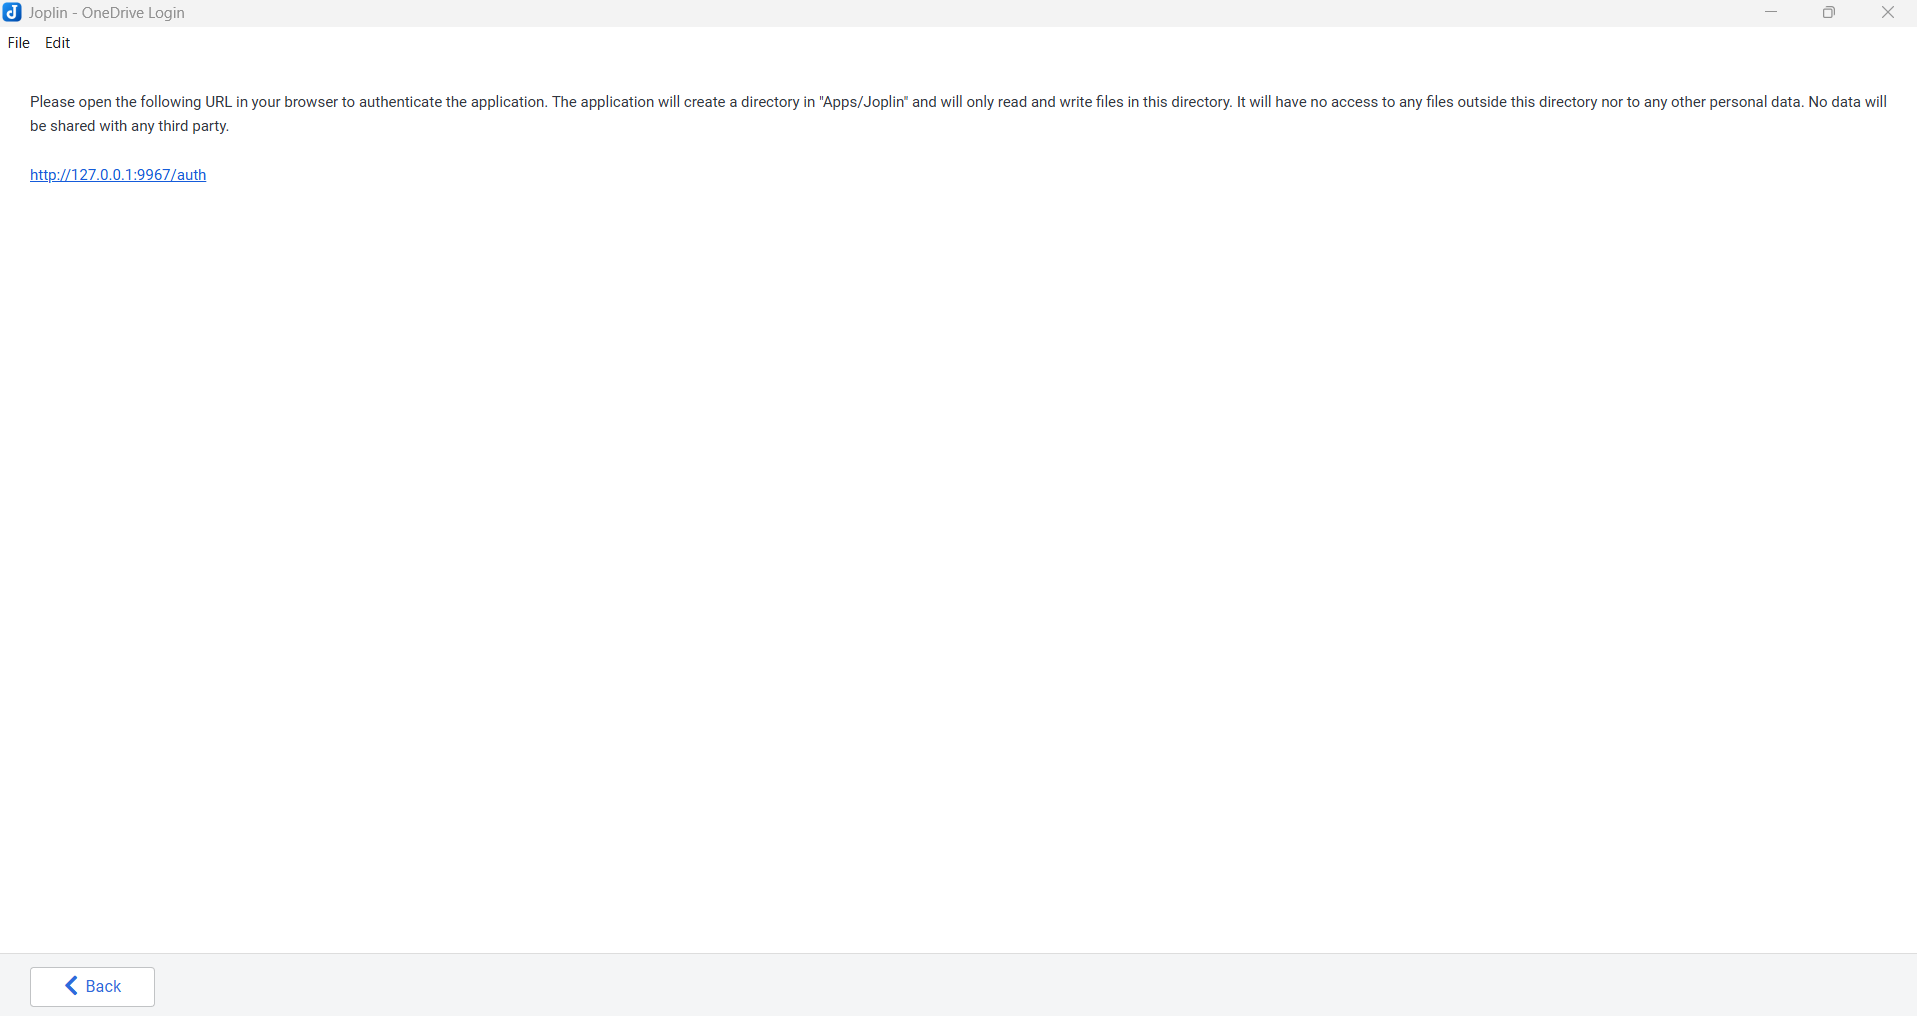
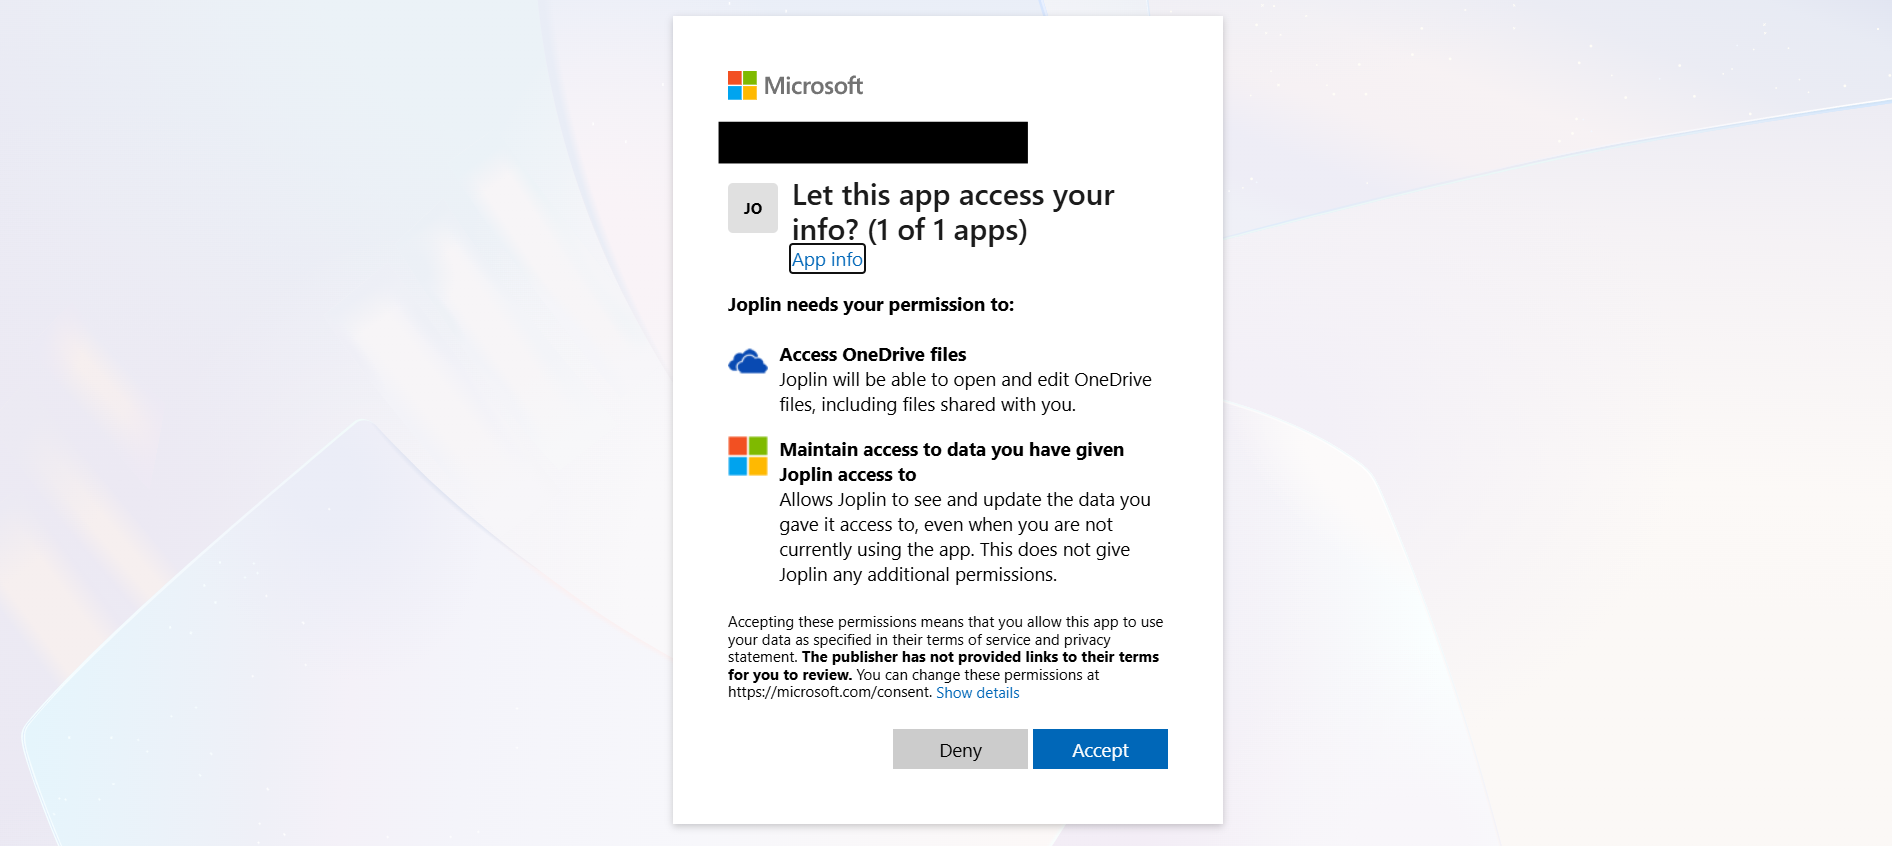

- A success message appears.
Syncing Notes
Configure sync
- Open Tools > Options > Synchronization.
- Choose your sync target: Dropbox, OneDrive, Nextcloud, WebDAV, or File system.
- Enter your account or server details.
- Click Synchronize to start.
Sync workflow
- Sync regularly to keep desktop and mobile notes aligned.
- Joplin stores note revisions, so accidental changes can be recovered.
- If you use multiple devices, sync after finishing work on one device before switching.